Proper pulley and belt alignment is crucial for the smooth operation of any mechanical system that uses belts and pulleys. Misalignment can cause excessive wear on belts, pulleys, and bearings, leading to decreased performance, increased maintenance costs, and even system failure. In this article, we’ll discuss how to check pulley and belt alignment and what to do if you find a misalignment.
Step 1: Check for Parallel Alignment
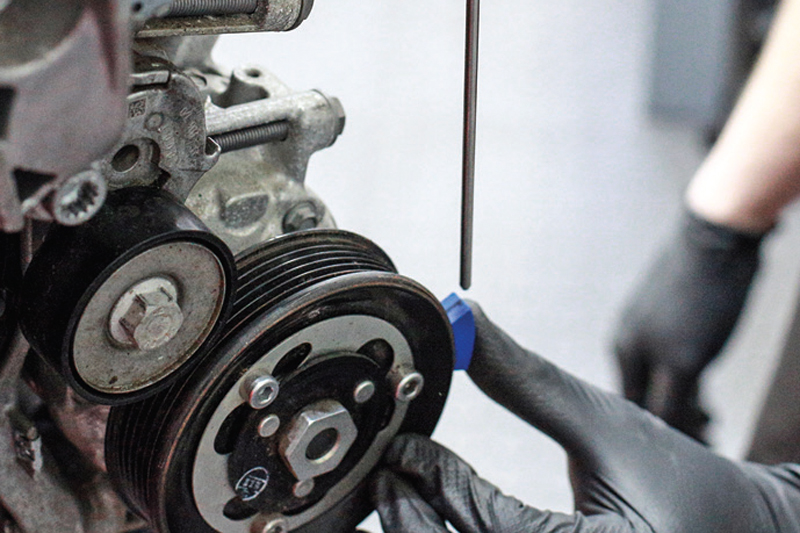
The first step in checking pulley and belt alignment is to ensure that the pulleys are parallel to each other. This means that the centerline of each pulley should be in line with the centerline of the other pulley. To check this, you can use a straight edge or a laser alignment tool.
Place the straight edge or laser alignment tool across the face of the pulleys, making sure it touches both pulleys. If the pulleys are parallel, the straight edge or laser will be perfectly level. If they are not parallel, you will see a gap between the straight edge or laser and one or both pulleys.
Step 2: Check for Angular Alignment
The second step is to check for angular alignment. This means that the pulleys should be at the same angle with respect to each other. To check this, you can use a protractor or an angle finder.
Place the protractor or angle finder against one pulley and measure the angle. Then, move it to the other pulley and measure the angle. If the angles are the same, the pulleys are angularly aligned. If the angles are different, the pulleys are not angularly aligned.
Step 3: Check Belt Tension
Once you have verified that the pulleys are parallel and angularly aligned, the next step is to check the tension on the belt. Belt tension is critical to the proper operation of the system. If the tension is too loose, the belt can slip, causing wear and tear on the belt and pulleys. If the tension is too tight, it can put excessive stress on the bearings and cause premature failure.
To check the belt tension, use a belt tension gauge. These gauges measure the amount of force required to deflect the belt a certain amount. Check the manufacturer’s specifications for the proper tension range for your system. If the tension is too loose or too tight, adjust the tensioner until it is within the proper range.
Step 4: Check Belt Alignment
The final step is to check the alignment of the belt itself. A misaligned belt can cause excessive wear and tear on the pulleys, leading to decreased performance and increased maintenance costs.
To check the alignment of the belt, place a straight edge or laser alignment tool across the face of the pulleys, making sure it touches both pulleys. Then, move the straight edge or laser to the side of the belt and check for any gaps between the belt and the straight edge or laser. If there is a gap, the belt is misaligned and needs to be adjusted.
To adjust the belt alignment, loosen the bolts on the pulley that is out of alignment and move it until the belt is properly aligned. Then, tighten the bolts back down.
In conclusion, proper pulley and belt alignment is crucial to the smooth operation of any mechanical system that uses belts and pulleys. Checking for parallel and angular alignment, proper belt tension, and belt alignment is a simple process that can prevent excessive wear and tear on your system and save you money in the long run. If you find a misalignment, it is important to address it immediately to prevent further damage. With these steps, you can ensure that your system runs smoothly and efficiently for years to come.
CONTINUE READING
Related Posts
In the world of industrial manufacturing, the efficiency and reliability of transmission systems are critical to the success of any […]
In industrial settings, a smooth and quiet power transmission system is crucial for productivity, safety, and worker comfort. V Belt […]
Splines play a critical role in mechanical power transmission systems, enabling rotational motion and torque transfer between mating components. These […]


